Network settings
Learn how to configure network types and what information you can view and collect from the Networks section and each network in the Customer Admin Dashboard.
Overview of the "Networks" Dashboard
The Networks section of the dashboard is a comprehensive tool designed to display and manage all networks registered through application scans. It provides an overview of each network’s key properties and offers an easy-to-understand interface for customer administrators to review and manage network types, external scans, and other details. The dashboard allows quick access to crucial network information, such as the network type, gateway, DNS servers, and public IP, making it ideal for troubleshooting and risk monitoring.
Client Types of Networks
In our application, we offer several client types of networks that you can use to tag your network:
- Office
- Remote Office
- Home Office
- Third Party
By default, every network is tagged as Third Party. As a customer administrator, you can choose the tag for each network in your organization according to its usage type. If you choose Office, you can access advanced features of Redamp.io for this network type, such as External Scans.
Instruction Guide for Configuring Office Network
- In the customer administration dashboard, click on Networks and select the network from the list you want to configure as an Office network.
- In the Client Type cell, click on the settings icon.
- Click on the dropdown list Client Type and Select Office type.


Instruction Guide for the AutoVPN Feature
Customers can configure the Safesurf AutoVPN feature for each network client type. This means you can disable Safesurf AutoVPN for individual devices connected to a network. This option is recommended if a company uses internal DNS resolution or if company policies do not allow VPN usage within office networks.
- In the customer administration dashboard, click on Networks and select the network from the list you want to configure the AutoVPN option for.
- In the AutoVPN Active cell, click on the settings icon.
- Click on the AutoVPN Active dropdown list and select Yes to enable Safesurf or No to disable it for this network.
Subsections of the "Networks" Dashboard
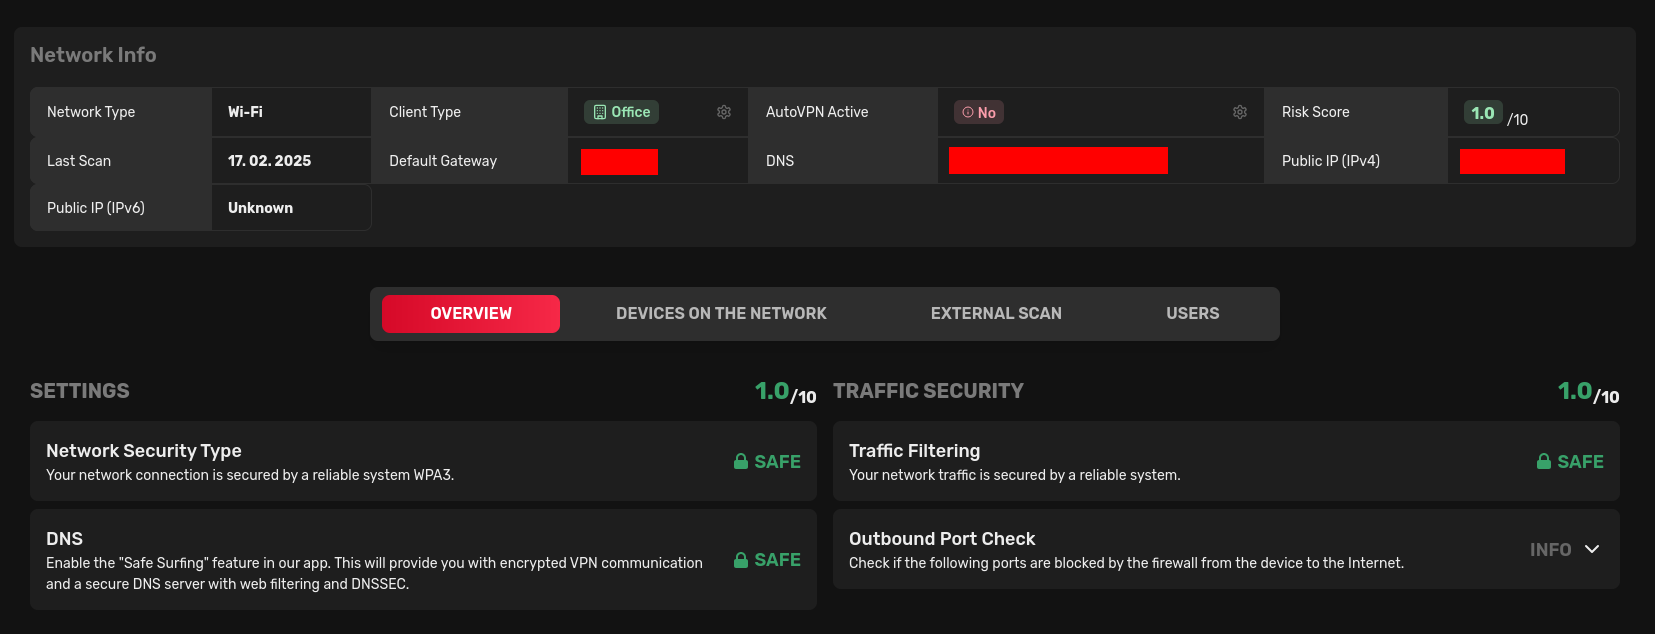
1. Overview
This section displays security information about the network collected through application scans, including details about traffic filtering and the use of the latest security standards.
2. Devices on the Network
As the name suggests, this section contains a list of devices that were scanned on this network.
3. External Scan
Customer administrators can approve external vulnerability and network scans to be performed against the public IP of the selected network. This feature is only available for Office client-type networks.
4. Users
A list of Redamp.io application users who were seen on this network and conducted scans.